


DIY Bath Bombs
Recipe from Heidi Kundin of Happiness is Homemade
Materials:
• Citric acid, available online and in the canning section
• Baking soda
• Shea butter, available online or in the body care section
• Essential oils, any scent
• Bath color tablets, optional, available online or in the children’s bath section
• Spray bottle with a small amount of water
• Shaping mold or mini cupcake tin
Instructions:
Mix ½ cup of citric acid with 1 cup of baking soda. Melt 2 tablespoons of shea butter in the microwave and add it to the dry mixture along with the 10 drops each of essential oils. Try to stick with three of fewer scents.
Crush and stir in color tablets if desired. At this point, the mixture will likely be too dry and crumbly. Use the spray bottle to add a very small amount of water — three to five sprays — and stir well after each spray until the mix is able to hold together. The mixture may still look dry even when ready. Set the bottle to a fine mist to avoid activating the fizz reaction.
Pack the mixture firmly into mini muffin tins or a silicone mold. Allow to dry 4-6 hours, but it best left overnight. Store in a cellophane or a plastic bag to keep moisture out. These also make great gifts.
Click here for more DIY ideas from Happiness is Homemade: www.happinessishomemade.net/category/craft/bath-body/
Office Supply X-Wing Starfighter
Design courtesy of Frugal Fun for Boys and Girls
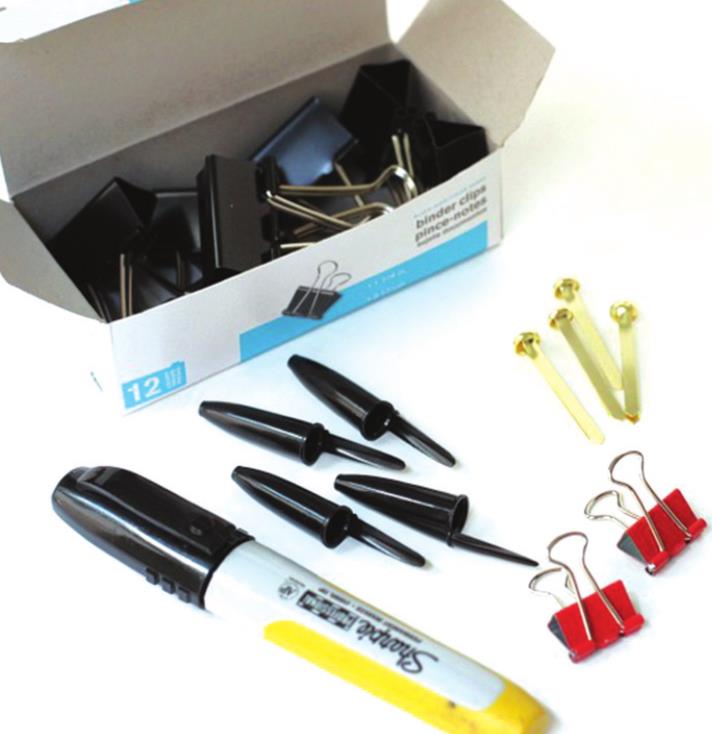
Materials:
• Wide sharpie maker
• Binder clips — large and small
• 1.5-inch paper fasterners
• 4 pen caps
• Red and white duct tape
• Cardboard
• Clear mailing or packing tape
• Scissors
• Hot glue gun
Instructions:
Cover the sharpie with white duct tape, but leave the cap clip uncovered.
Take two large and two small binder clips. Remove the metal clip part off all binder clips and attach the large metal clips to the small bases. The large bases are not needed. Attach the small bases onto a small rectangle of cardboard. Slide the cardboard underneath the sharpie cap clip.
Attach a paper fastener to each “wing” and attach clear tape to the pointed end of each to keep them on. Hot glue pen caps above and below the metal clips.
Use red duct tape to add the details. If desired, one of the discarded large binger clips can be used to make a stand.
Click here for full X-Wing picture tutorial: www.frugalfun4boys.com/how-to-make-a-star-wars-x-wing-starfighter-out-of-office-supplies/